Improve your Long Exposures Photography
/Long exposure photography is a technique where you allow your camera’s sensor to gather light for a longer period of time. One major goal of this is revealing more detail in the darker areas of the scene. For more creative purposes, you may want to use a long exposure to create a sense of motion in your images.

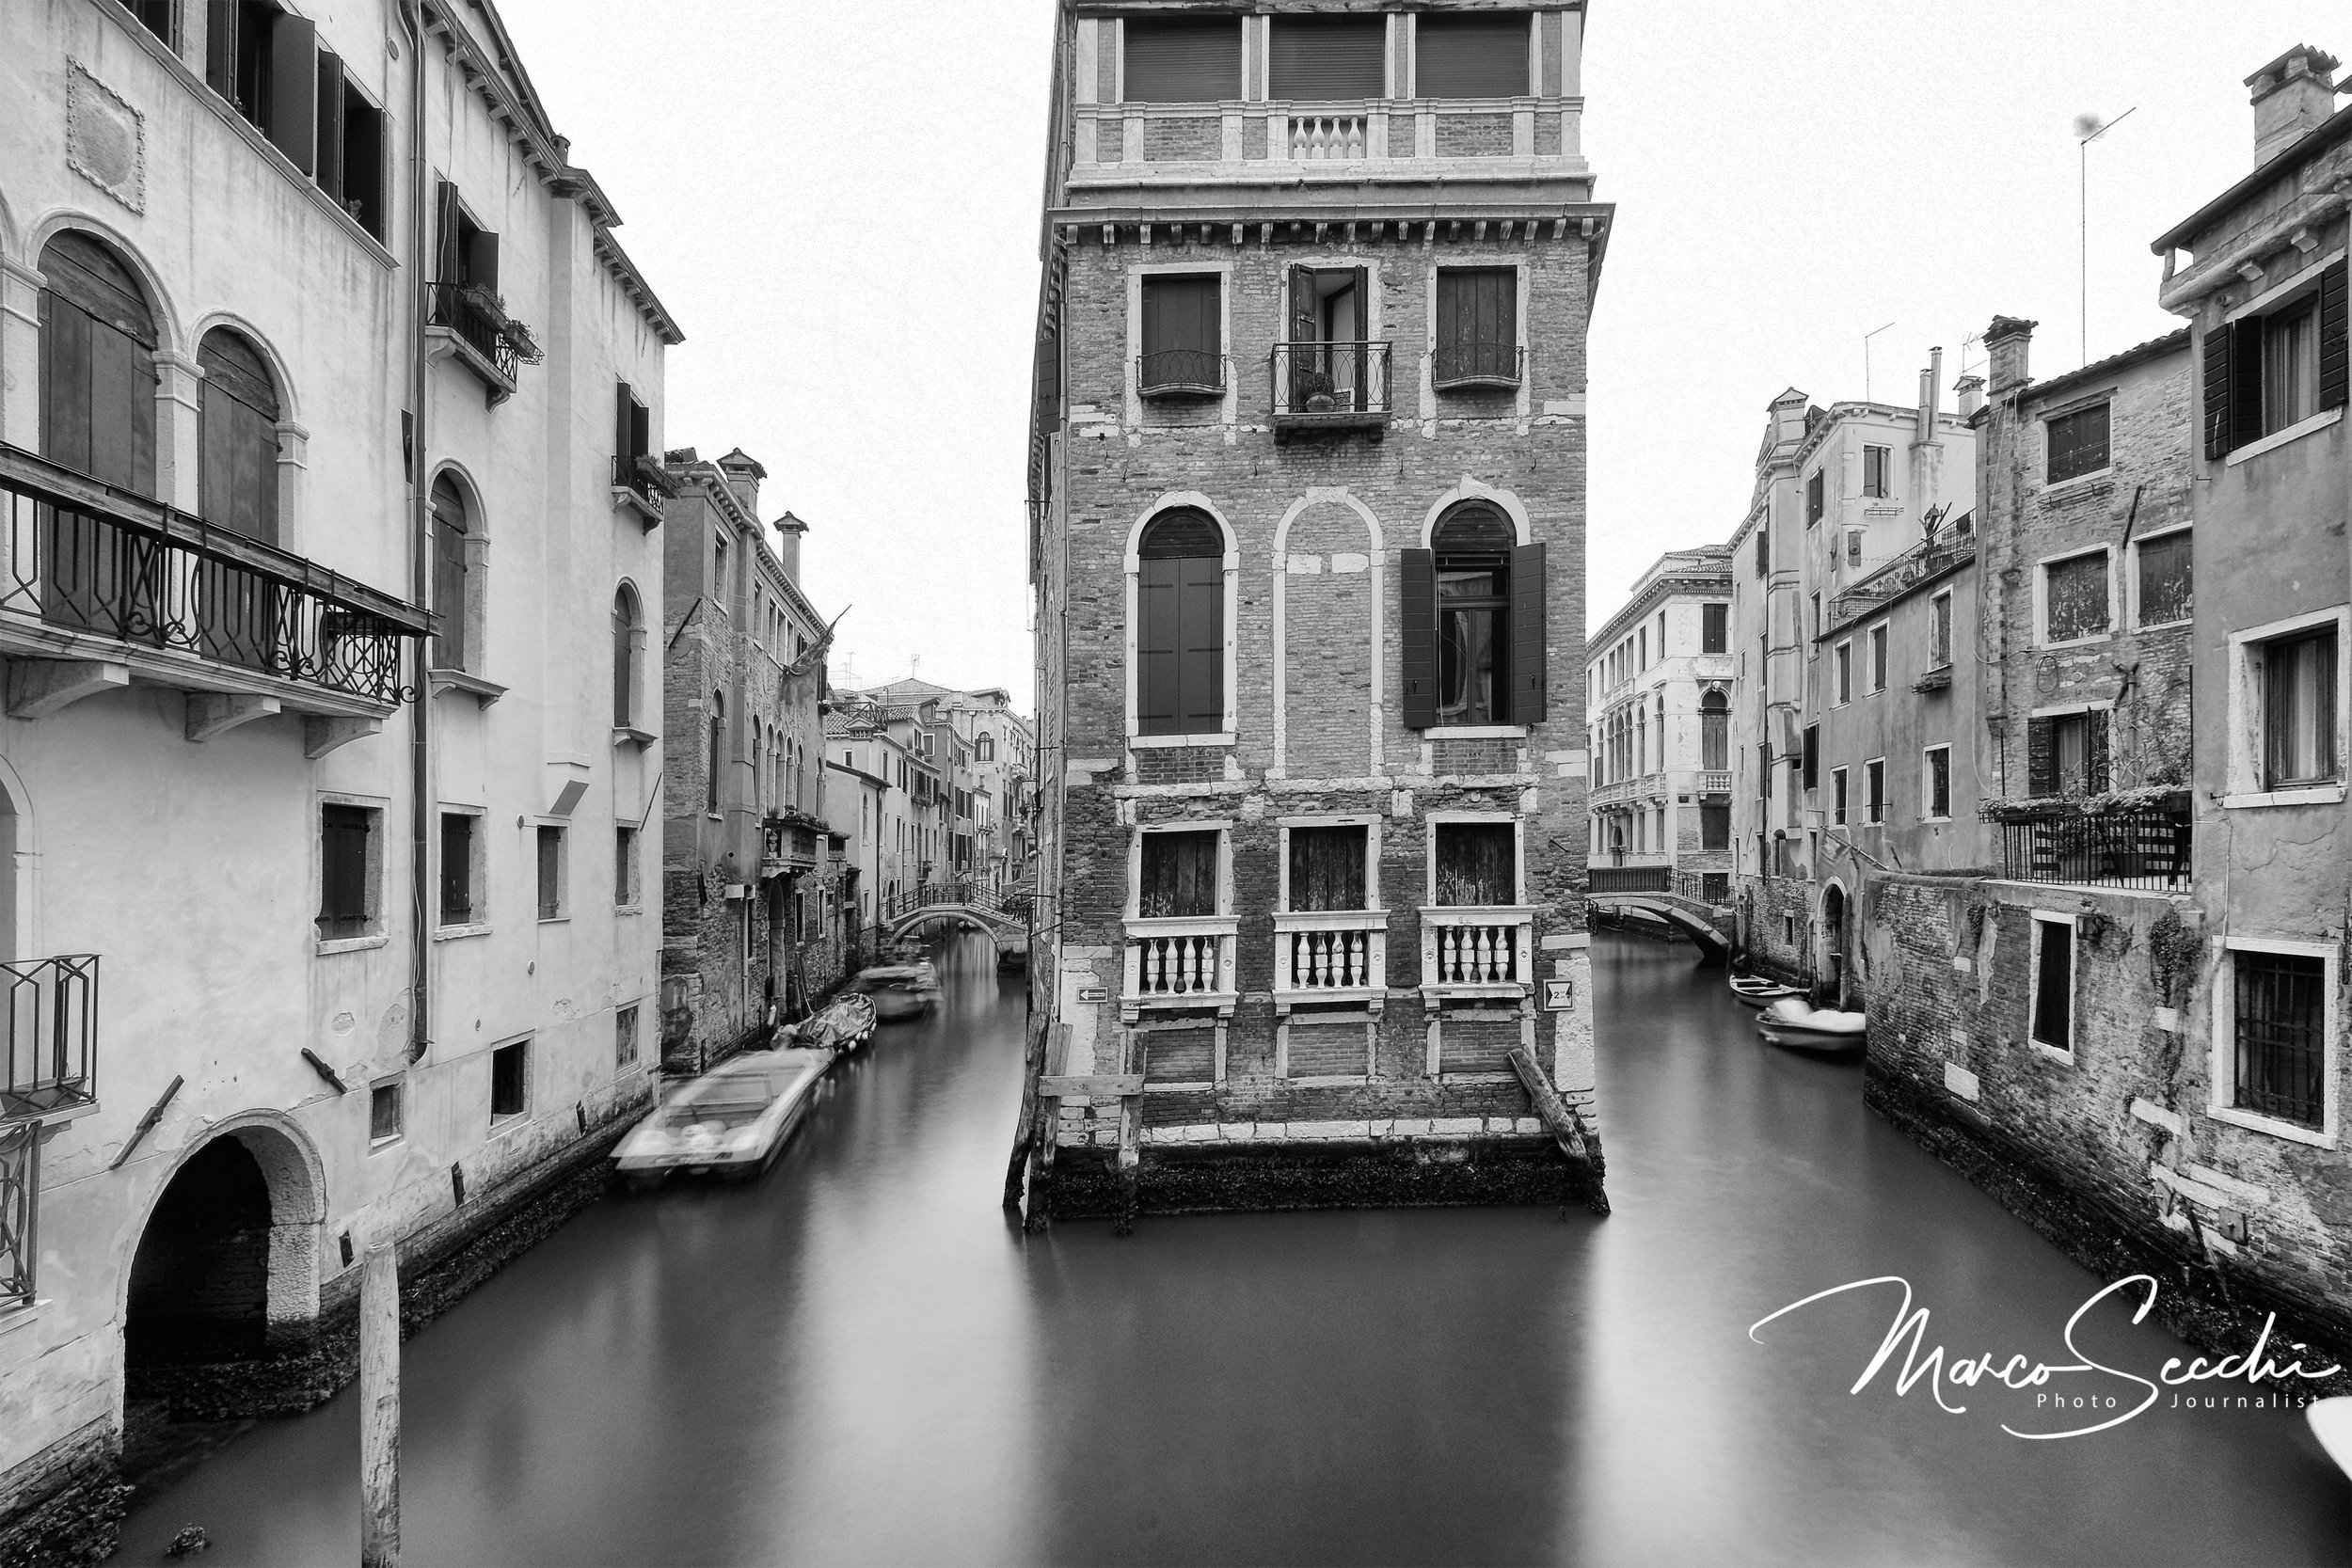
Venice with Long Exposure
Filters
When you want to use a long exposure to produce a creative effect such as blurry water but there is too much light to allow a slow shutter speed, it’s possible to increase the exposure time by using filters. Neutral density filters are solid “grey” looking filters of uniform density that have no effect on how colours are recorded but are used to reduce the amount of light entering the camera. They can be either circular screw-on type or square
Create a visual Composition and Calculate your exposure
Depending on the tones in your scene, many cameras can calculate a good long exposure up to 30 seconds. But if you’re doing an exposure that’s longer than 30 seconds, or you’re adding any ND filters, you must calculate the settings for your exposure.
Cable Release
The shutter button on your camera releases the mechanical shutter inside of the camera. Using a shutter release button allows you to capture images without touching the camera at all. A shutter is a curtain that lets light into the camera sensor for a period of time; using a wired or wireless shutter release, you can initiate the opening and closing of this curtain without touching your camera.
Tripod
Although it’s one of the most important elements of any photo set up, it’s also one of the most undervalued, ignored, and overlooked. A good tripod will cost you money, while a cheap one may not even do its job. However, the downside is that some people won’t buy a new tripod because they think that they don’t need a sturdy one yet.
My favourite brand is Manfrotto I have been using then for so long I cannot even remember, One of the latest ones I have been using is the Manfrotto BrFree 3-Way Live Advanced. I will review on another post in the next few days. You can find it here

Manfrotto Befree Tripod
Set your camera on manual or bulb mode
Many DSLRs have multiple pre-programmed modes that can set your shutter speed and aperture for you. But these modes will also be automatically metering for you, which is unlikely to get you the results you’re looking for. So instead opt for Manual mode, or Bulb mode if you will be doing an exposure of over 30 seconds. When using Bulb mode the shutter will stay open from when you press the shutter release button, to when you let go.
Shoot at the lowest ISO possible
Although newer cameras can shoot with relatively little noise at higher ISOs, long exposures can create noise. So shoot with the lowest ISO possible on your camera. Most cameras come with long exposure noise reduction features, but at higher ISOs using this feature can make the noise worse.
Cover your viewfinder to prevent light leaks
Although light leaks rarely occur with regular exposures, with longer exposures the images are subject to light leaks through the viewfinder. Even a small leak can create big issues like hazes on an image with a long exposure. Don’t cover the viewfinder with your thumb, as this can create camera movement. Instead, try covering it with gaffers’ tape or a custom viewfinder cap and compose your image in your camera’s live view.
Shoot in RAW
Shooting long exposures can be tough, especially the first few times. Shooting in RAW will give you more latitude to recover a slightly overexposed image and will give you greater control in your post-production.

Foggy Day in Venice - Long Exposure