Landscape photography – depth of field

Depth of field is the limitation of perceived sharpness within a photographic image. The greater the depth of field, the more of the image from front to back that appears sharp. An image that is said to have a shallow depth of filed has a short and more specific depth of sharpness.

In photography, careful use of depth of field can be a very powerful tool indeed. It can force viewers to focus only upon that which is sharp, by utilizing a shallow depth of field. As our eyes are not comfortable in viewing unclear images, we then tend to look at the parts of an image that is sharp, and our gaze will then focus upon that part of the image, rendering the other unsharp parts of the image as blurry and not worthy of our attention. This use of a shallow depth of field is particularly well suited to portraiture. As long as the eyes are sharp, most other things can be forgiven if they arent pin sharp. People and animals tend to look at the eyes first, and so the eyes really need to be sharp in nearly all portraiture photography.

unsplash-image-He4OH2g7oLE.jpg


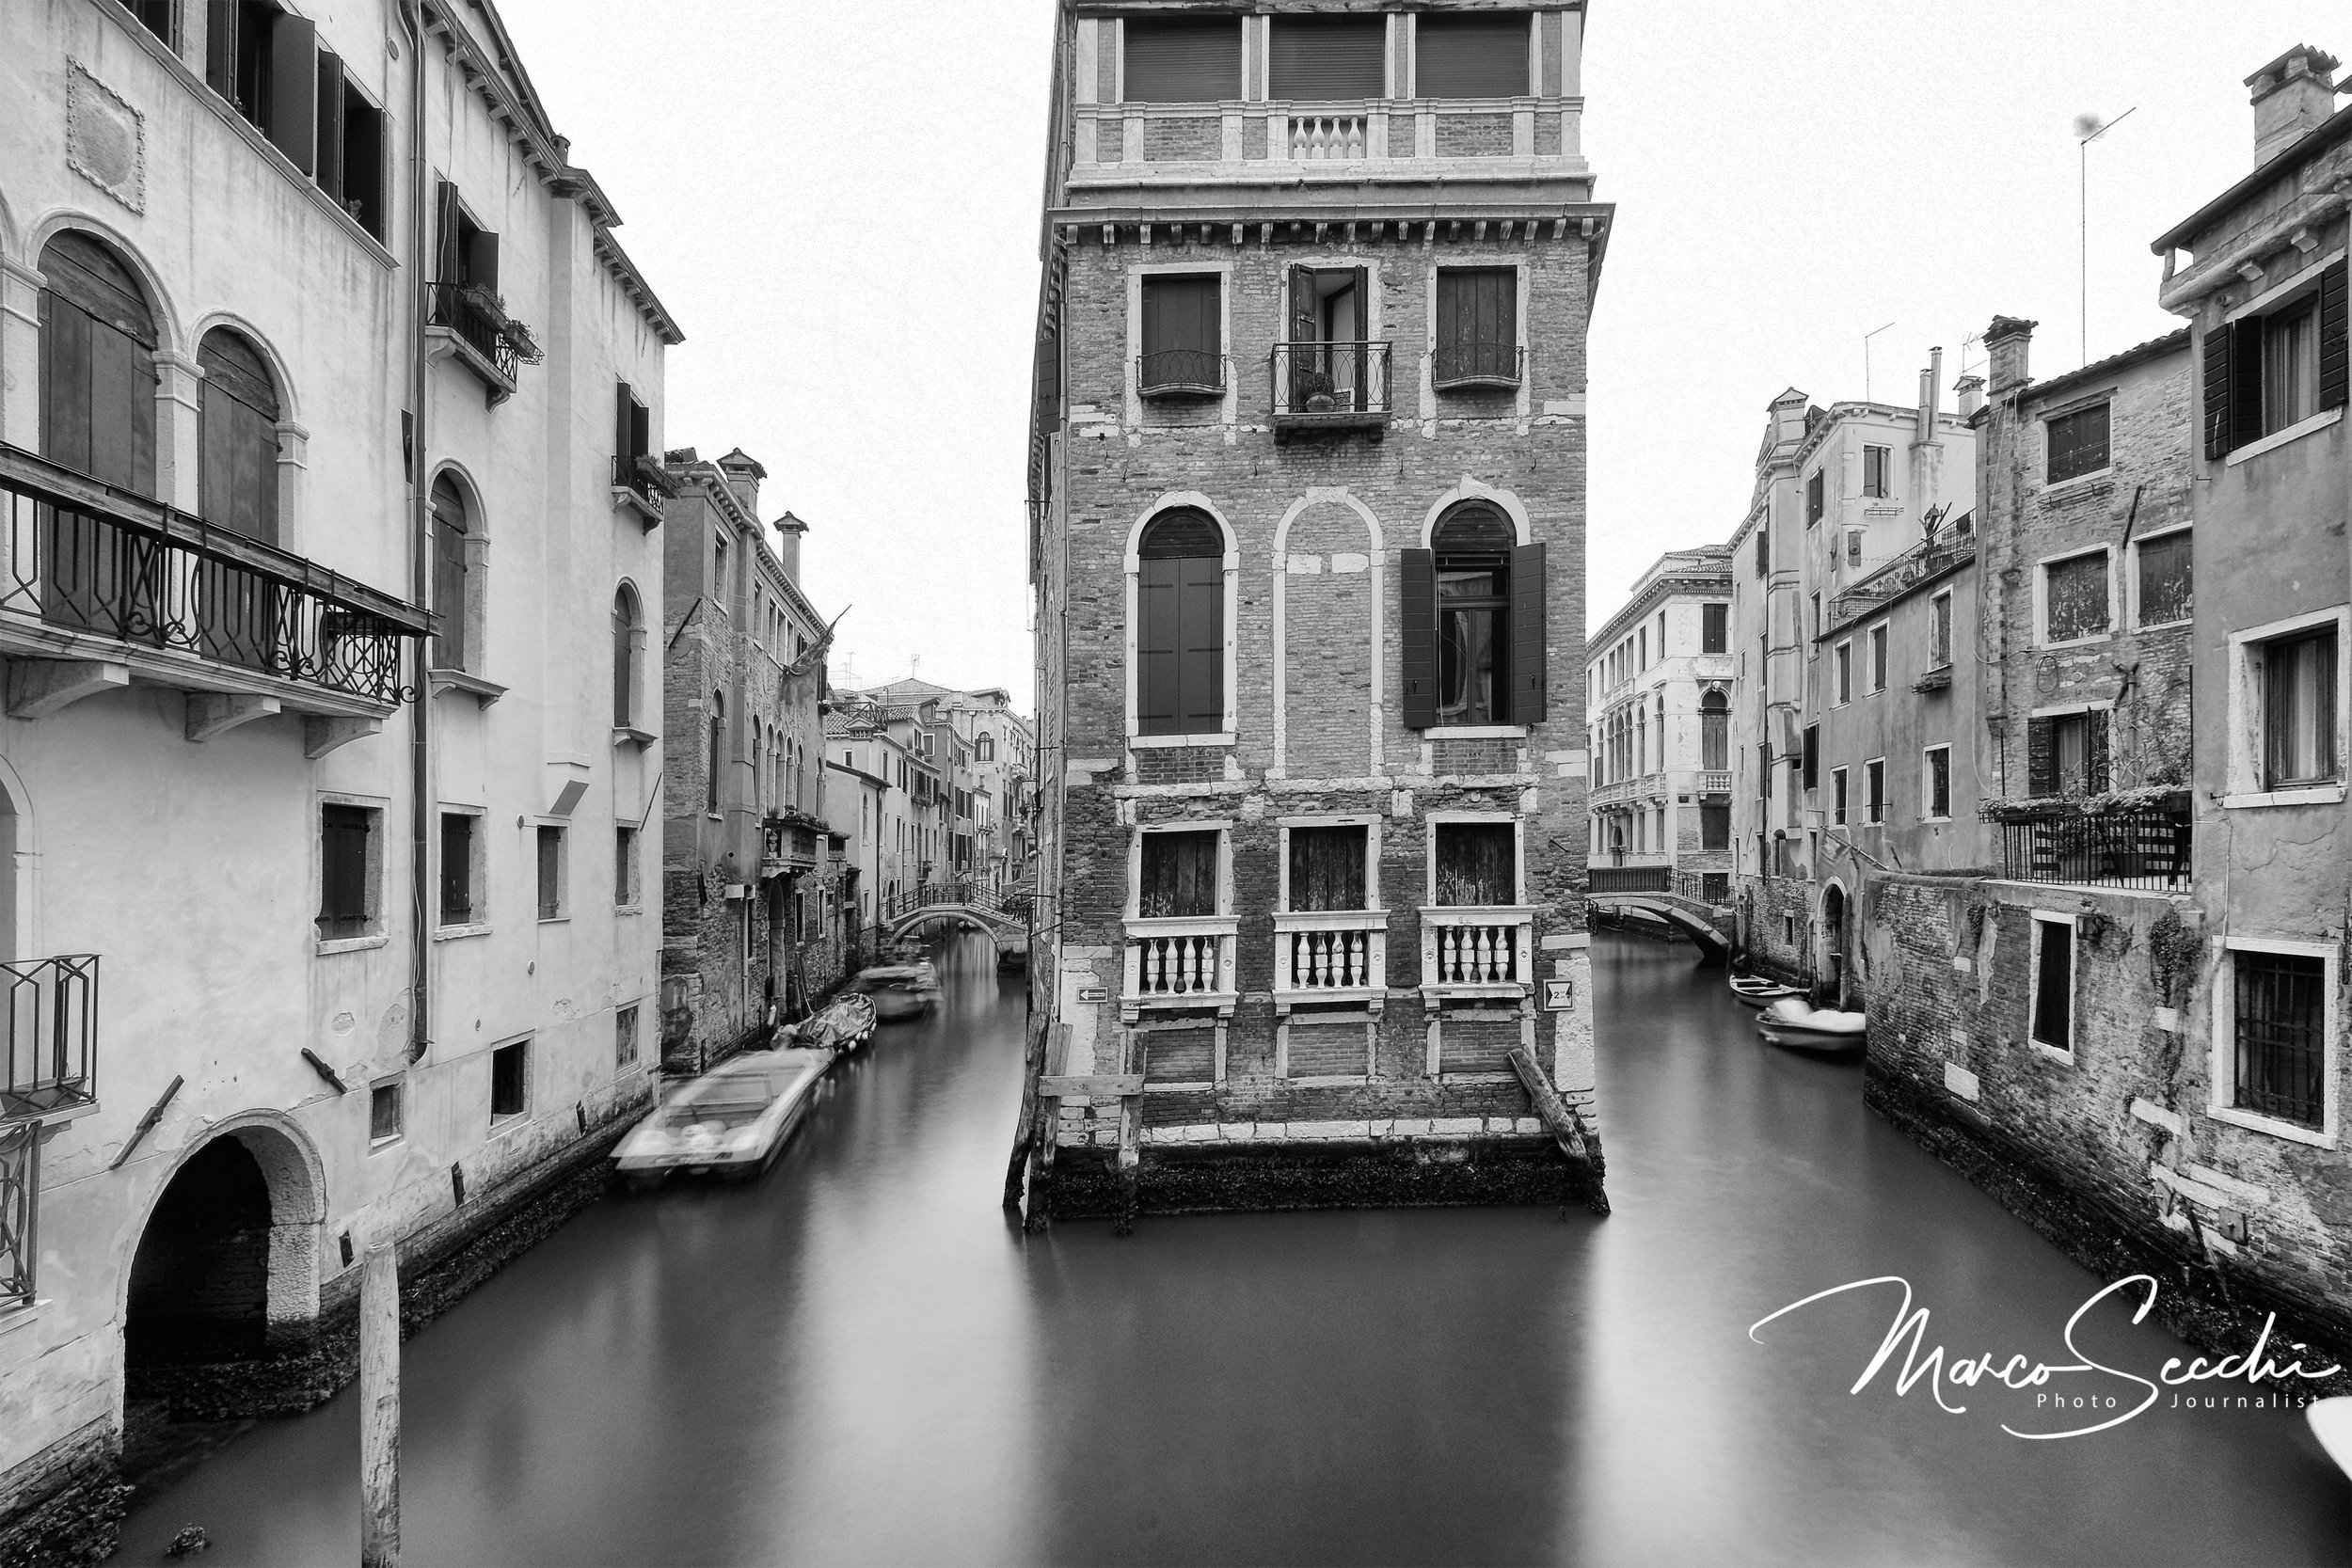
Landscape photography is generally at the opposite end of the scale of depth of field, where the vast majority of landscape images require a very long depth of field. This is due to the fact that landscapes generally are trying emmulate an actual scene as we see it, and viewers are usually drawn into the image by its great depth of field.

Depth of field is controlled in two ways. The most commonly used is by aperture control. The smaller the aperture (the larger the number ie. F22), the greater the depth of field. The larger the aperture, (the smaller the number like F2.8), the shallower the depth of field. The apertures inbetween have a depth of field is that is directly proportionate to the aperture selected along the scale. The second means of controlling depth of field is by using a camera or lens that enables the lens to be tilted forward or back. This enables the focusing plane of the lens to be more inclined to the plane of focus of the subject matter, and hence providing a much better depth of field without a change of aperture. It is one of the major reasons for using bellows type cameras, or tilt lenses. With such a camera or lens, one can have a huge level of control over depth of field at any aperture.

Depth of field is also dictated by the focal length of the lens, and the camera format for which the lens is used. For instance, a wide angle lens always has a much greater depth of field than a telephoto lens. A very wide angled lens such as a 14mm lens has a depth of field so great that it almost doesnt require focussing, wheras a 600mm telephoto lens has an extremely shallow depth of field, and unless focussed upon long distance subject matter, the depth of field will always be very limited indeed. On the other end of the scale are macro lenses, which are made to be able to focus very closely to objects. Once you start moving in and start focussing very closely, the depth of field again becomes extremely shallow indeed. The closer you get to the subject, the less the depth of field becomes, and in extreme close-ups just the slightest movement will cause the image to go out of focus entirely.

Improve your long exposure with photo stacking

Are you planning on shooting soft, silky waves? Do you wish to create dreamy, daytime landscapes with smooth, stretched clouds?

This post will help you improve your long-exposure skills and overcome the most common challenges that occur in daytime long-exposure photography.

Photo Stacking for Daytime Long-Exposures

When doing long-exposure photography–photography that requires light to hit your camera sensor for more than 2 minutes a lot of problems can arise and those can easily ruin your shot: false light, camera shake, accidentally tripping over your tripod, etc. 

With exposure time around 4 minutes, you can easily waste a lot of time trying to capture the perfect shot of soft clouds or silky waves.

But by dividing the shot into several shorter exposures of the same subject and stacking them together in Photoshop, you can overcome most of the issues, spend less time on wasted shots, and come away with better images.

Photo stacking is not a technique for every situation, but sometimes stacking your long-exposures is the only way to get a good shot. However, it is important to recognise when you need it during shooting.

When to Use Photo Stacking

False Light

During the day, you’ll often have too much light available for long-exposure photography. Long-exposure photography in daytime light using a 10 stop ND-filter might still result in an overexposed shot. 

At night or during the blue hour, when the light is limited, you can adjust your camera settings to give you a 2 or 4 minutes exposure even without using neutral density filters.

This long-exposure image consists of 4 shots of 40 seconds each. I was standing on a metal bridge and there is often passage of heavy trolleys and people

This long-exposure image consists of 4 shots of 40 seconds each. I was standing on a metal bridge and there is often passage of heavy trolleys and people


Photo stacking your daytime long-exposure photos will ensure that you get correctly exposed shots. Furthermore, if you don’t own a 10 stop neutral density filter, using a less strong ND-filter and taking multiple images to combine later will give you similar results.

Camera Shake

Next to false light, shaking is the most common reason for failed shots in long-exposure photography.

At night, factors that can cause your tripod and camera to shake are usually lessened: lighter wind, fewer waves, and less traffic, for example.

But during the day, these factors are stronger, heavier, and more problematic for daytime long-exposure photography; strong wind or heavy traffic can make your tripod shake or vibrate, resulting in blurred or unsharp shots. 

While we’re at it, remember to take the camera strap off your camera while shooting long-exposure. It acts as a sail in the wind and causes shaking to the tripod and camera.

And make sure the ground is sturdy enough to support your tripod and keep the camera steady for a long-exposure shot.


User Error

And then there are those unforeseen hiccups that can ruin a great long-exposure shot.

Regardless of whether its daytime or night, another common mistake is simply forgetting your remote. Without a remote, you are stuck with the longest exposure time your camera allows excluding bulb mode.

Bulb-mode without a remote requires that you press the shutter all the time, which is a no-go to avoid camera shake. My camera, like most, has a max of 30 seconds exposure.

How to Photo Stack Long-Exposure Photos

Factors like too much light, too much wind, or the risk of camera shake make it worthwhile to use photo stacking for your daytime long-exposure photos instead of doing a 2- or 4-minute exposure.

You now know when to use photo stacking; below you will learn how to use photo stacking–how to do it in the field and how to blend the exposures afterwards in Photoshop.

Equipment

This is the equipment I tend to use for Long Exposure shots


Setting Up Your Camera

At the location, set up your gear as normal, but make sure your camera settings and ND-filters gives a good exposure with a histogram peaking just over the middle to the right when using an exposure time of 30 seconds. To get the effect of a 4-minute shot, aim for 8 good shots, each at 30 seconds (8 x 30 seconds = 4 minutes).

Get some extra exposures just in case some of them get blurred due to camera shake from a sudden wind gust or bypassing bus. You can leave out a particular shot from your sequence in the photo stacking process.

Processing in Photoshop

In  Photoshop, go to File → Scripts → Load Files into Stack. In the appearing dialogue, choose Add Open Files to make the set of images appear under files to use for stacking.

Remember to check the boxes Attempt to Automatically Align Source Images and Create Smart Object after Loading Layers.

Click OK to begin the blending process. It usually takes some time for Photoshop to create a single Smart Object from all of the exposures.

Next, go to the menu Layer → Smart Objects → Stack Mode → Mean. This makes Photoshop automatically blend the images in the stack into a smooth long-exposure, to look like it was a single very long exposure.

At this point, you don’t need the layer to be a Smart Object anymore, and keeping it this way would prevent you from using a brush tool, for example, so you should convert it by right-clicking on the layer and choose to Rasterize Layer.

After this, you need to process the image as you would for a normal daytime long-exposure or any other image. To get the best results when you process your daytime long-exposure photos, be sure to only use selective sharpening of the areas in your photo that are not moving.

Long-exposures taken during daytime often have a lot of large white areas with clouds or silky soft water. If you apply sharpening to the areas that are supposed to be soft, you’ll cause an unwanted grainy look to your photo.